Automatic Hydraulic Brake and Clutch Bleeder
Bleeding the brakes by pumping the brake pedal repeatedly has one big disadvantage: the piston inside the master cylinder can travel past the slight lip that has formed with normal usage, possibly damaging the seal. This does not happen with a pressure system such as the Gunson Eezibleed as the master cylinder piston will not be moving. If new components have been fitted, or the fluid is contaminated, the system must be bled. Manufacturers recommend changing brake fluid every two years.
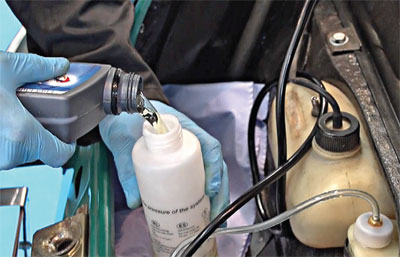
So the first task if to check the condition of the existing brake fluid - this is easily carried out with the Gunson 77002 brake fluid tester. Immerse theend probe of the tester into the brake fluid reservoir; the colour of the LED that illuminates will advise the percentage of water in the fluid: green is less
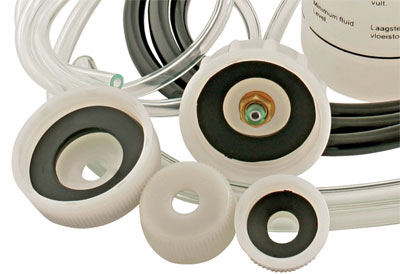
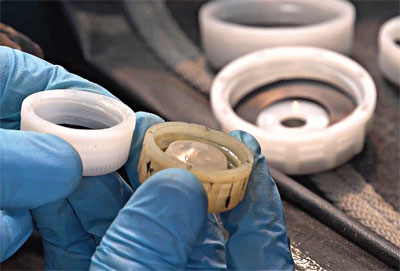
than 1.5% (OK), amber 1.5 - 3.0% (marginal - advise change fluid) and red indicates over 3% water, which is a fail and the fluid must be replaced. Now choose the reservoir cap adaptor; the kit is
supplied with a selection of adaptors which will fit most vehicles with screw-cap type fluid reservoirs. If necessary, the 77042 Multi-purpose cap or the G4058 bayonet cap can be used.
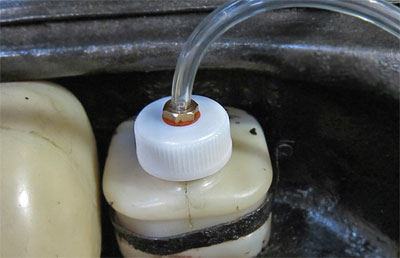
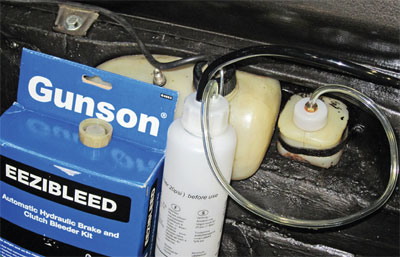
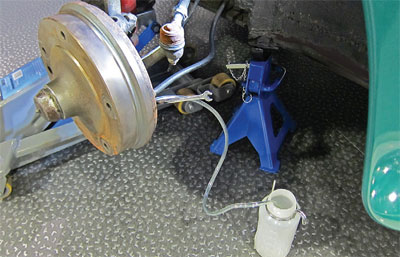
Remove the vehicle’s reservoir cap and fit the appropriate cap adaptor from the Eezibleed kit (as above). Mount the fluid bottle in a suitable position near the vehicle’s fluid reservoir, where it can remain upright and will not be knocked over. In this case it is hooked onto the windscreen washer reservoir.
Connect the fluid bottle to the adaptor cap on the vehicle’s fluid reservoir - make sure both caps are secure but not overtightened.
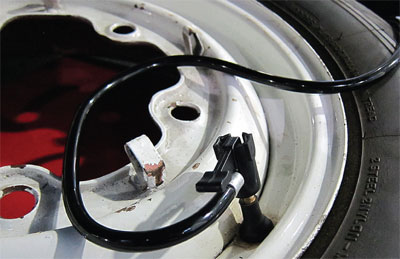
Before we start to bleed the brakes we will pressure-test the system without any brake fluid in it. Have the spare wheel suitably close and adjust the tyre pressure to about
20psi. Connect the tyre connector to the spare wheel’s tyre valve - this will pressurise the system - and then check carefully for any air leaks at both the reservoir and fluid bottle caps.
If all seals are airtight, disconnect the tyre connector and fill the fluid bottle fresh brake fluid.
Pressurise again making sure that the spare wheel tyre pressure is no more that 20psi. This is a guide figure and in some cases a lower figure will give adequate flow, as low as 10psi can be used, although sometimes the rear brakes may require a higher figure.
Refer to the manufacturer’s
instructions as to the recommended sequence to bleed the brakes (usually the rear wheels first).
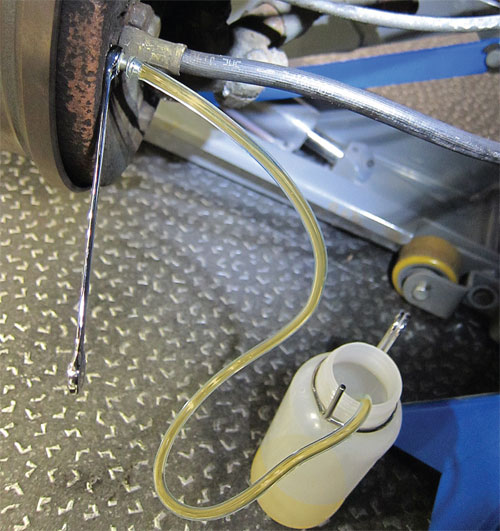
Clean off any dirt or corrosion around the bleed nipples and it is a good idea to squirt some penetrating oil onto the threads of the nipples. Then connect the
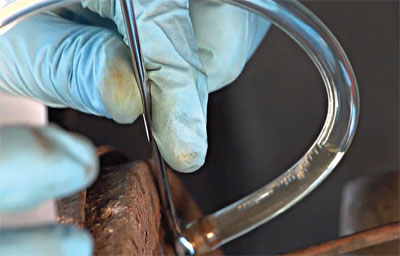
bleed tube to the first nipple to be bled. With the correct size spanner open the bleed valve and the fluid will start to flow. Keep it open until the flow fluid of fluid is clean and air-free with no bubbles.
Then retighten the bleed valve. Repeat the operation on all the valves in sequence.
The pressurised fluid bottle should hold enough fluid to complete the brake bleeding operation.But keep watching the fluid level in the bottle; ifit approaches the minimum level (marked on thebottle) then stop the operation, disconnect the tyreconnector, and refill the bottle before continuing.
When all the brake lines have been bled disconnectthe tyre connector before removing the cap adaptorfrom the car’s brake fluid reservoir. Remember toreplace the original cap back on to the reservoir.
Additional notes: If the master cylinder has beenremoved or perhaps dismantled and rebuilt withnew seals, it can on some cars (early Mini andJensen Interceptor for example) be difficult to bleedthe brakes with out bleeding the master cylinderfirst. Do this before the brake pipes are fitted to itand make sure the master cylinder is completelyfilled with fluid before fitting the pipes.Remember brake fluid is corrosive and will damagevehicle paintwork - clean off immediately with water.